Configuring SAML SSO
Learn how to configure SAML SSO metadata to connect Rainforest to your IdP SSO for Enterprise accounts.
Overview
Eligibility:Only Enterprise customers are eligible for SAML SSO configuration.
We currently only support IdP (Identity Provider) Initiated SSO. This is where the user goes to their IdP (examples: Okta/Jumpcloud/Azure AD) and clicks on the “Rainforest” application that the IdP administrator has configured. The user then gets redirected to Rainforest and logged in.
The alternative is SP (Service Provider) initiated SSO, which is not supported. This is where the user comes to Rainforest, enters their email address, and gets redirected back to their IdP to authenticate, before being taken back to RF in a logged-in state.
How SAML SSO works with Rainforest
To configure SAML SSO, you will have to configure your IdP to create an “application” profile with some Rainforest specific settings and assign the application profile to users in the IdP so your users can see it. After this, any user with access to the Rainforest application profile can click on Rainforest in their IdP and it will redirect them to Rainforest. If they don’t already have a user, this process will create one. Alternatively, users can be invited to Rainforest from within Rainforest settings, but the authentication is still managed by the IdP. We do not support SCIM for provisioning users.
Once you have configured an application profile in their IdP, you will have to give us the metadata file for that application profile.
General IdP configuration
To configure the IdP application profile you will need to set one or more of the following (what fields are required and what they are called may vary depending on the particular IdP):
- ACS (Consumer) URL:
https://app.rainforestqa.com/auth/saml/callback - SP Entity ID:
https://app.rainforestqa.com/auth/saml/callback - Audience:
https://app.rainforestqa.com/auth/saml/callback - Recipient:
https://app.rainforestqa.com/auth/saml/callback - IdP Identifier ID:
https://app.rainforestqa.com/auth/saml/callback - SAMLSubject NameID / Application Username:
email(this will be the field that holds the user’s email address)
We also provide this information as metadata file which can be parsed by some IdP’s. It can be accessed here: https://app.rainforestqa.com/auth/saml/metadata
They will need to set the following attributes:
- Email - required as we use it as the username
- firstName (optional)
- lastName (optional)
If the optional attributes aren’t given, then a generic name will be generated for them.
Once you have configured an application profile in their IdP, provide the metadata file for that application profile to the Rainforest team. You should also provide the domain that will be used for the SSO email addresses.
Additionally, please let the Rainforest team know if you would like us to disable the ability to login via username and password.
Okta IdP application configuration walkthrough
The generic SAML application configuration for Okta is documented here. How to use a metadata file to create an application is documented here. The following steps show the specific configuration for Rainforest.
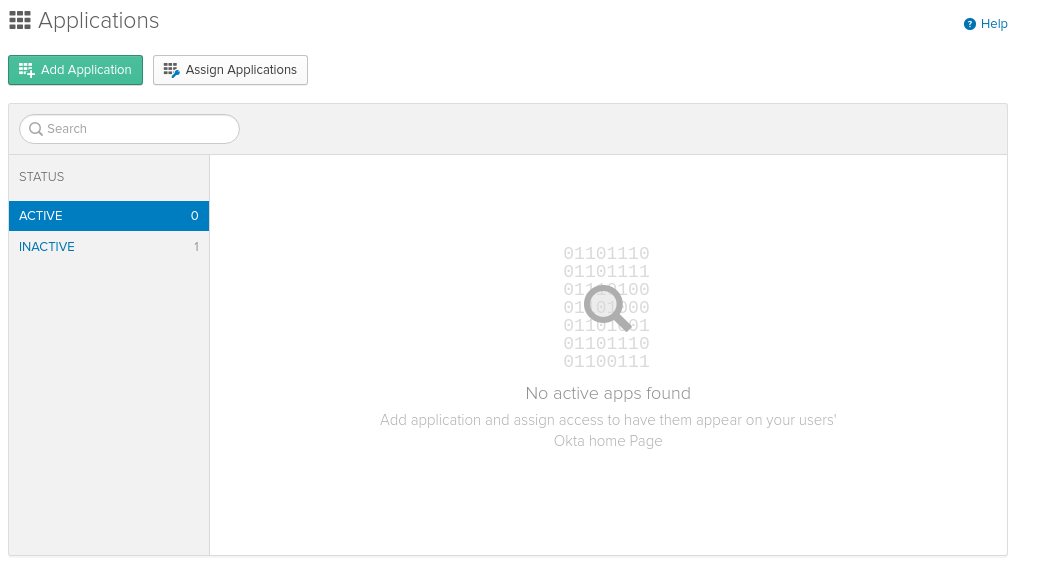
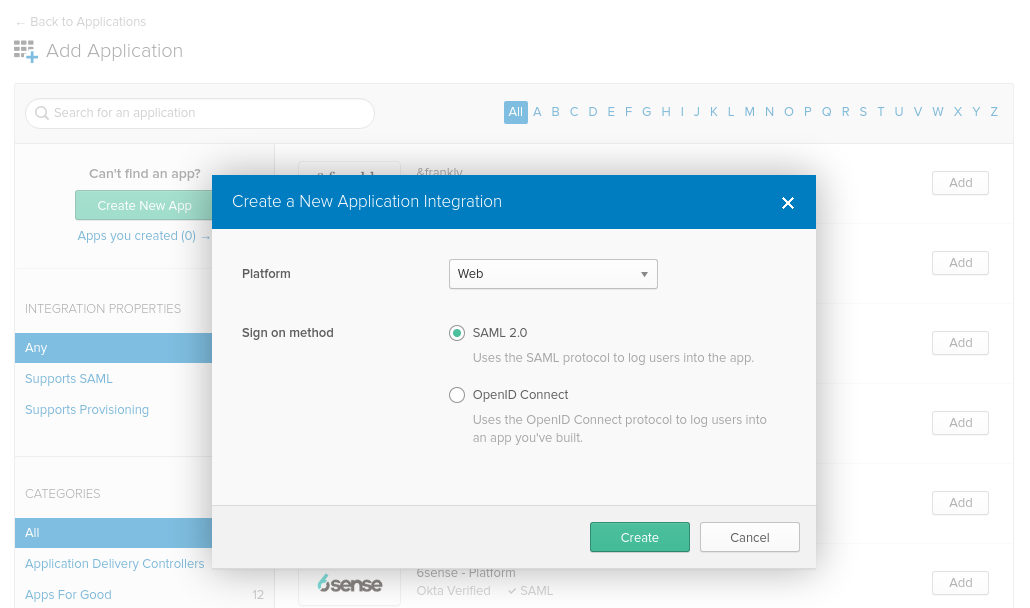
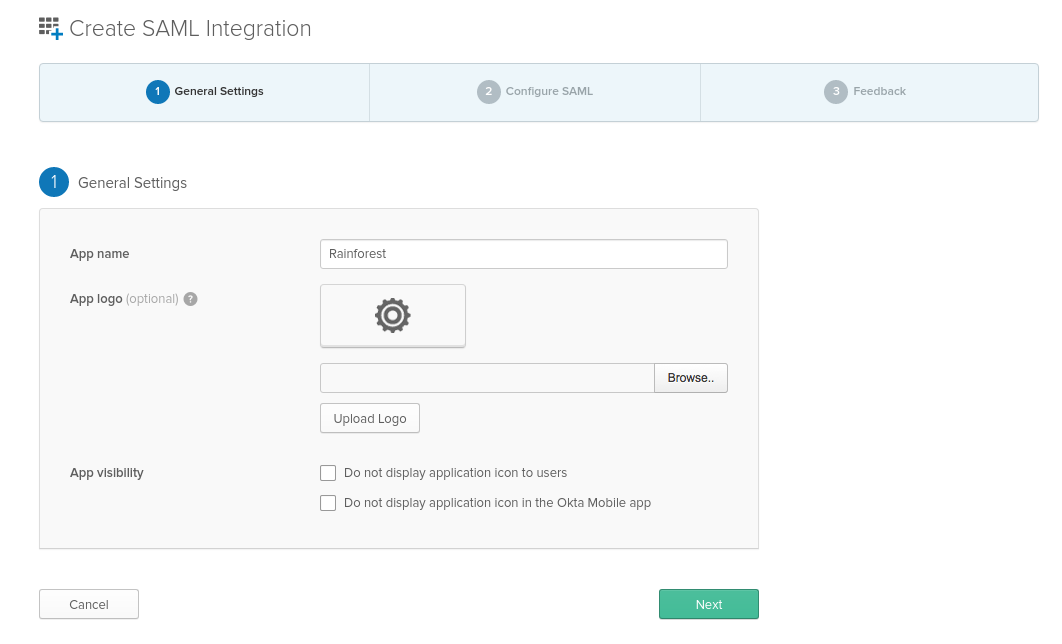
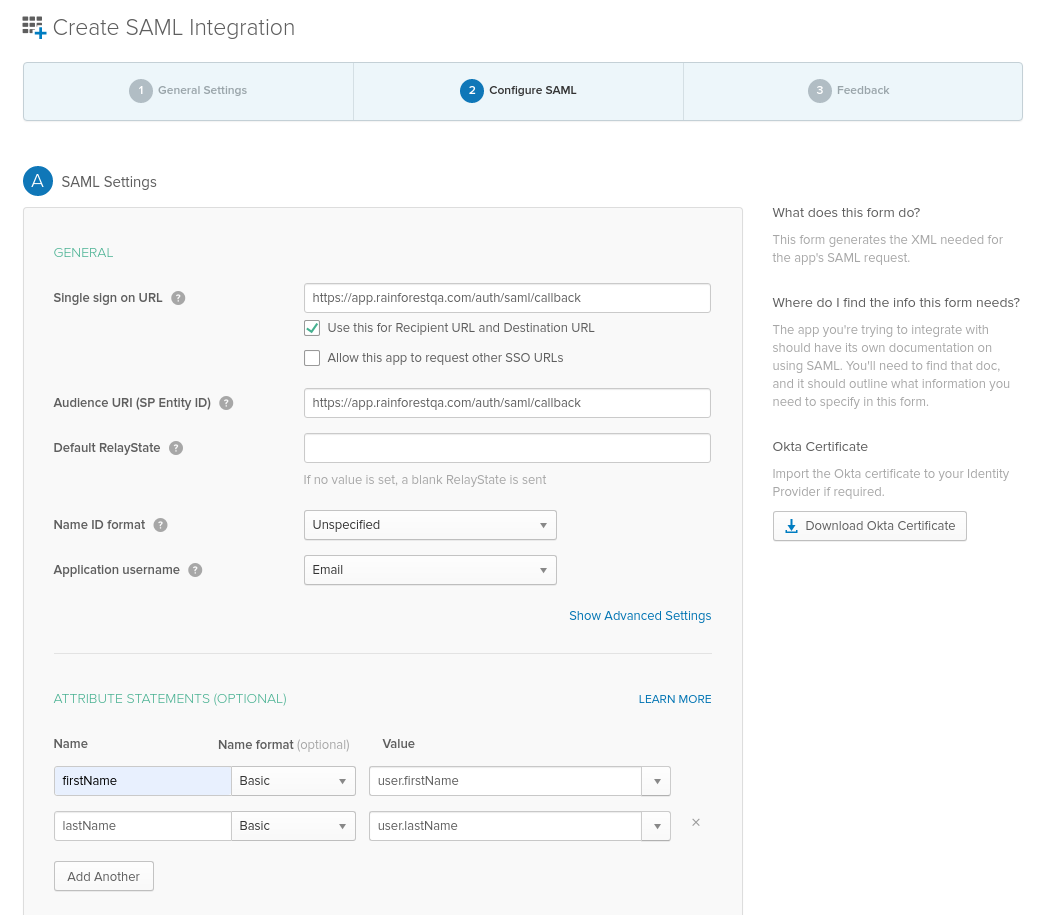
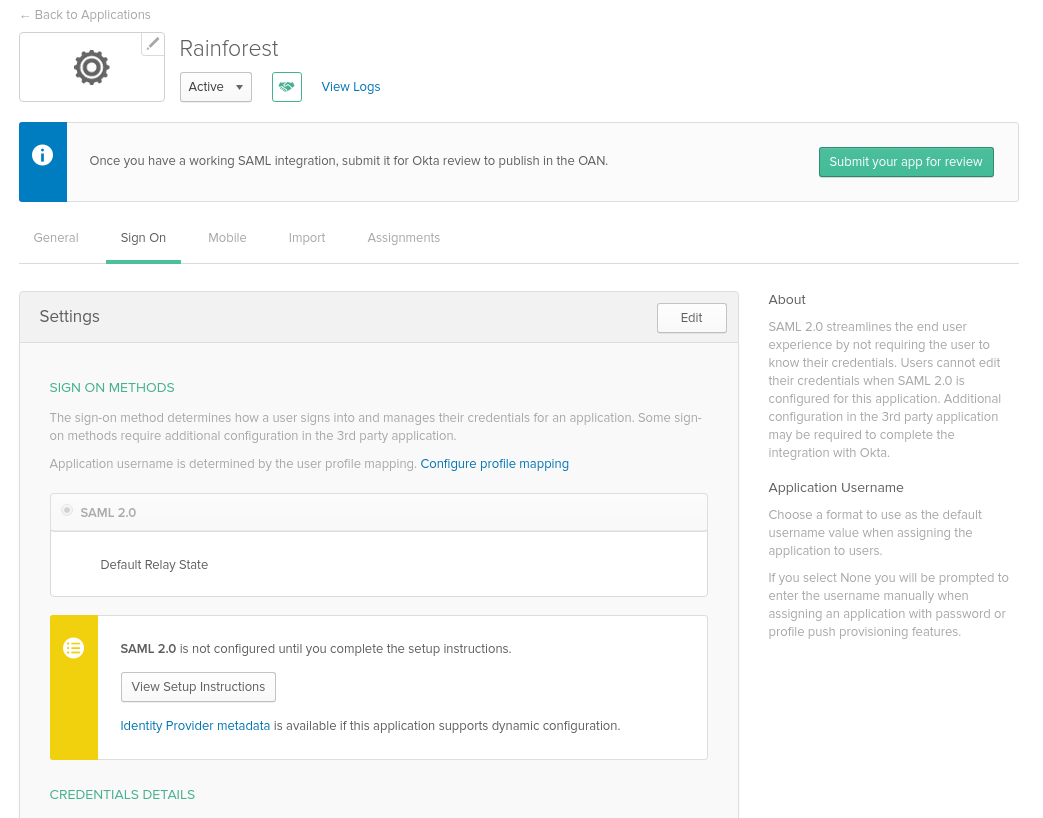
This is what the configuration screens look like when you’re creating the SAML application:
- Click Add Application.
- Create an integration from the Platform: Web and Sign on method: SAML 2.0.
- Key in Rainforest as the App name.
- Enter in the:
- Single sign on URL:
https://app.rainforestqa.com/auth/saml/callback - SP Entity ID:
https://app.rainforestqa.com/auth/saml/callback - Application username:
Email - Attribute Statements:
firstNameandlastName
- Click the Identity Provider metadata link and share it with the Rainforest team.
JumpCloud IdP application configuration walkthrough
JumpCloud 's official documentation can be found here.
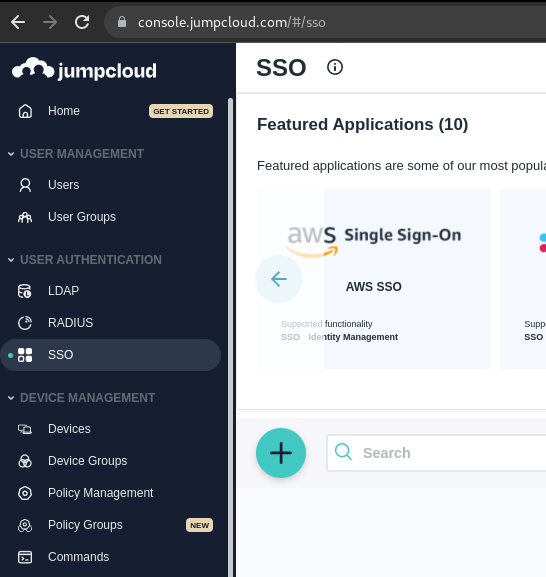
- Select SSO on Left hand navbar, click the Turquoise blue circle.
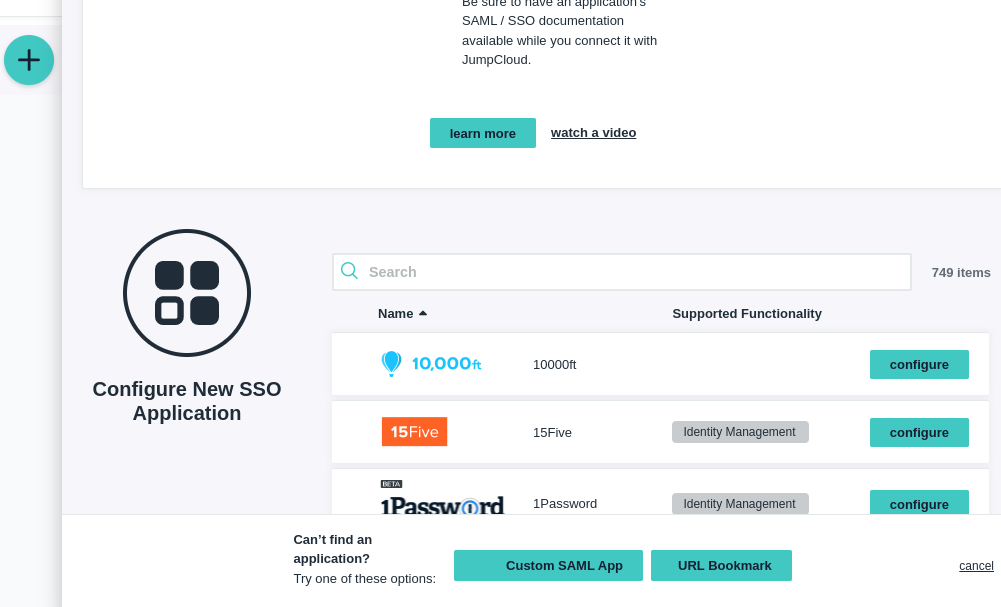
- Select “Custom SAML App” at the bottom of the screen as the SSO application.
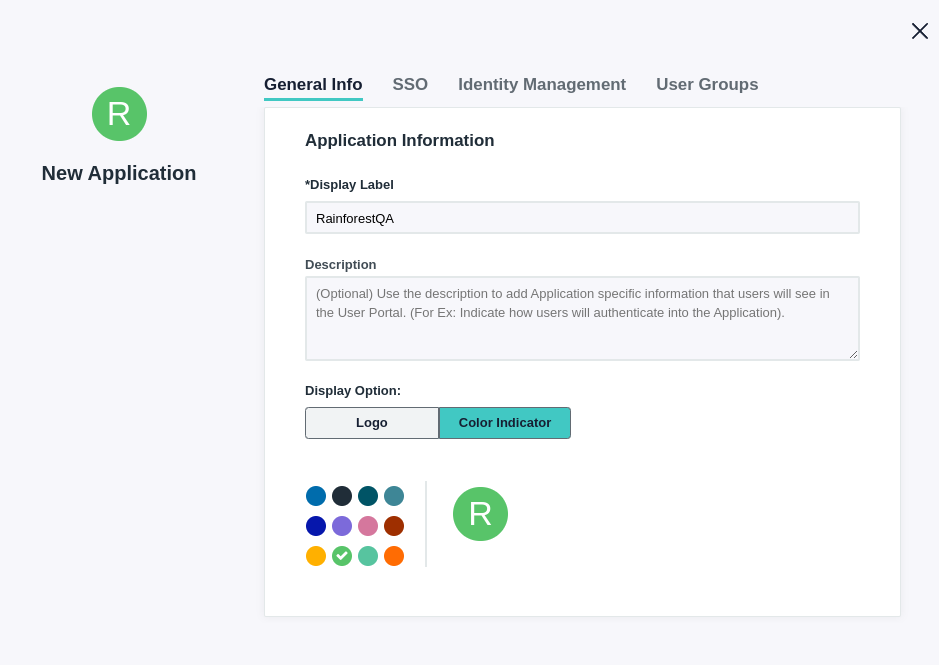
- Enter the Display Label as Rainforest QA.
- On the SSO tab, enter in:
- IdP Entity ID:
https://app.rainforestqa.com/auth/saml/callback - SP Entity ID:
https://app.rainforestqa.com/auth/saml/callback - ACS (Consumer) URL:
https://app.rainforestqa.com/auth/saml/callback - SAMLSubject NameID:
email - SAMLSubject NameID Format:
urn:oasis:names:tc:SAML:1.0:nameid-format:unspecified
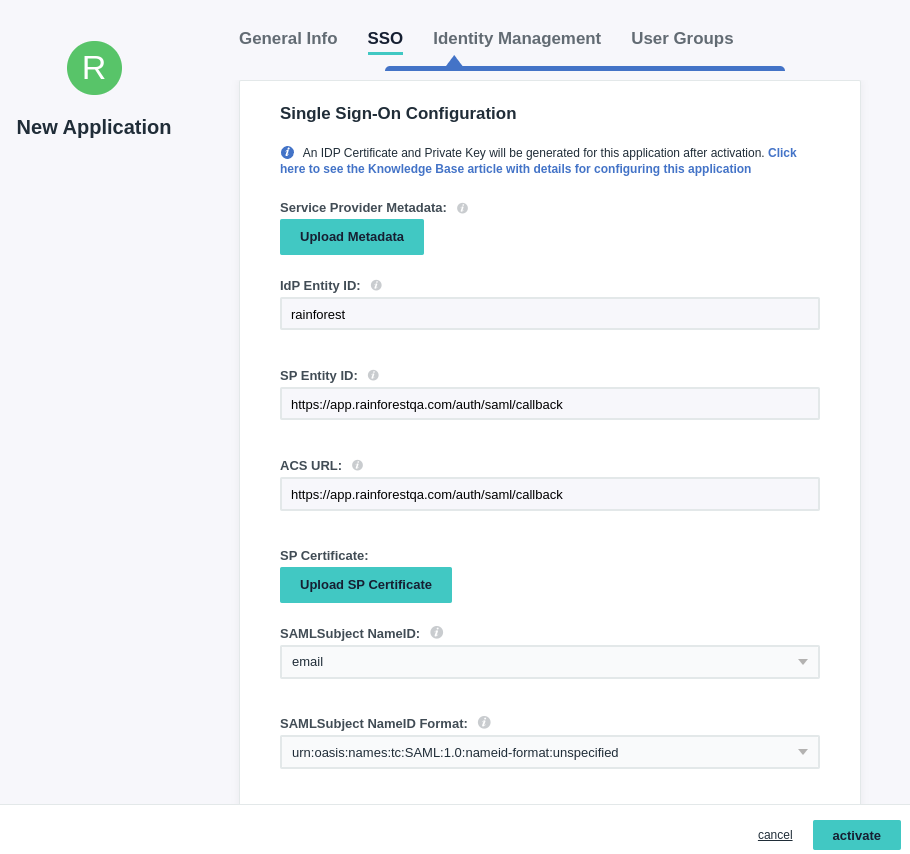
No changes are needed to the Identity Management tab
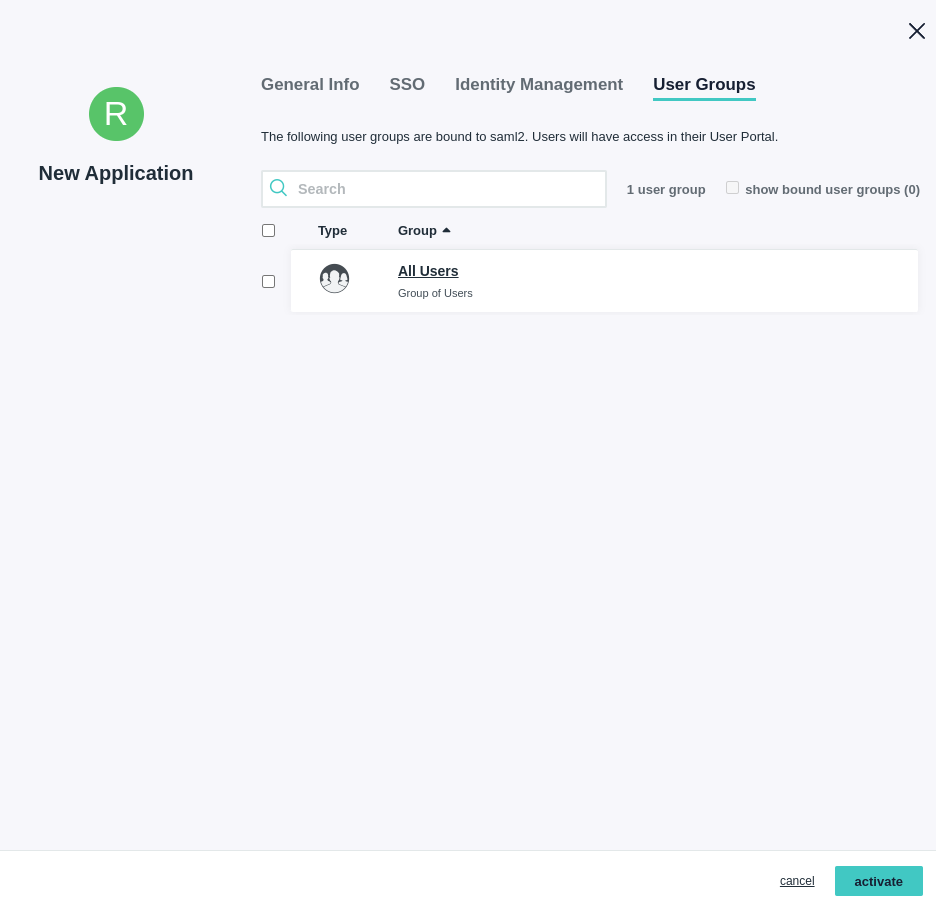
- On the User Groups tab, enter in the groups that should have access to Rainforest. 6. Click “Activate”
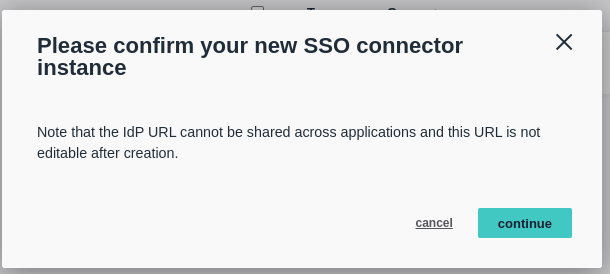
- Click “continue” to confirm the new SSO connector instance.
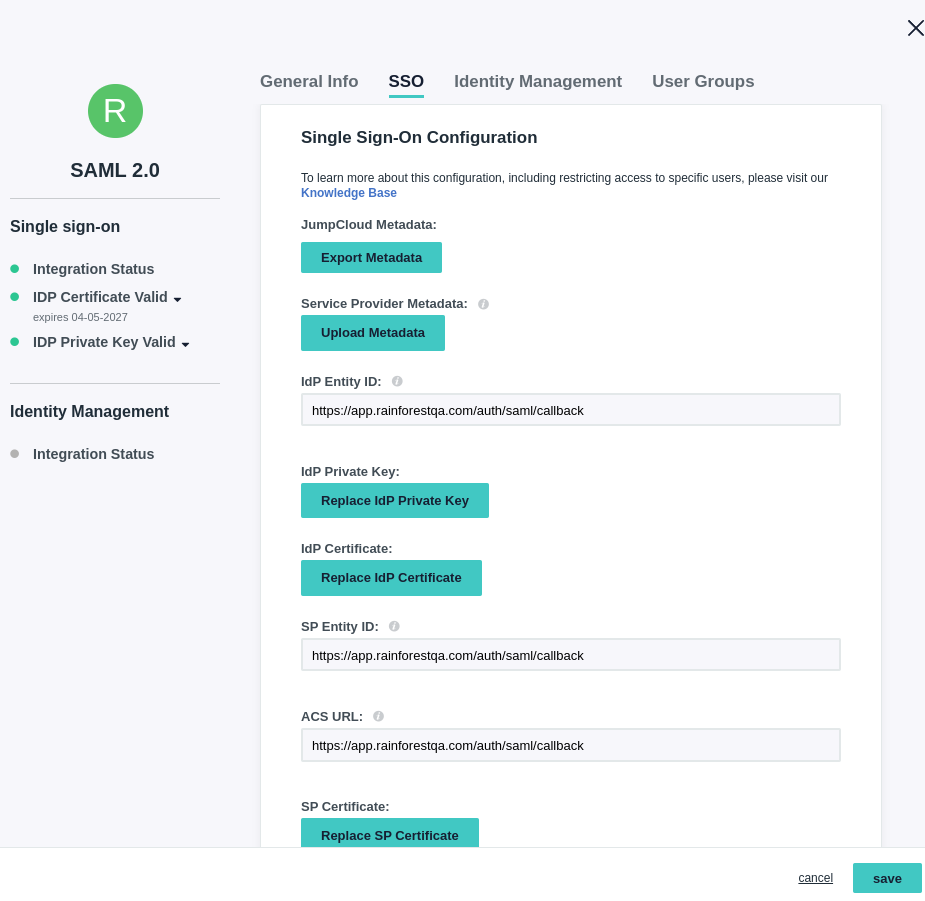
- Click on RainforestQA SSO application.
- Go to the SSO tab, click "Export Metadata", and send the file to the Rainforest team.
Updated 5 months ago
