
How to Create an Automated Test
Learn how to create, edit, and preview a test without writing any code.
Overview
Creating a Rainforest test is easy and doesn’t require any coding. A test is composed of steps. Each step has an action such as Click and Navigate. These steps tell the application how to interact with the page. For a complete list of actions and how they work, see the Visual Editor Test Actions Glossary.
Creating a Test
- Navigate to the Tests page.
- Click the Create Test button.
The Create Test modal displays. - Select a site from the Site Name dropdown or add a new site.
- Enter a natural language prompt to generate with AI. See Regenerate a test with AI from a new prompt.
- Press the Enter key or Add steps button.

The Create Test modal.
Editing Your Test
- The Virtual Machine (VM) loads and navigates to the starting URL.
- Name the test.
Click Untitled Test in the upper left-hand corner of the screen and update the test name. - Add your test steps.
Click “Describe steps...” For a list of actions and snippets, see the Visual Editor Test Actions Glossary.
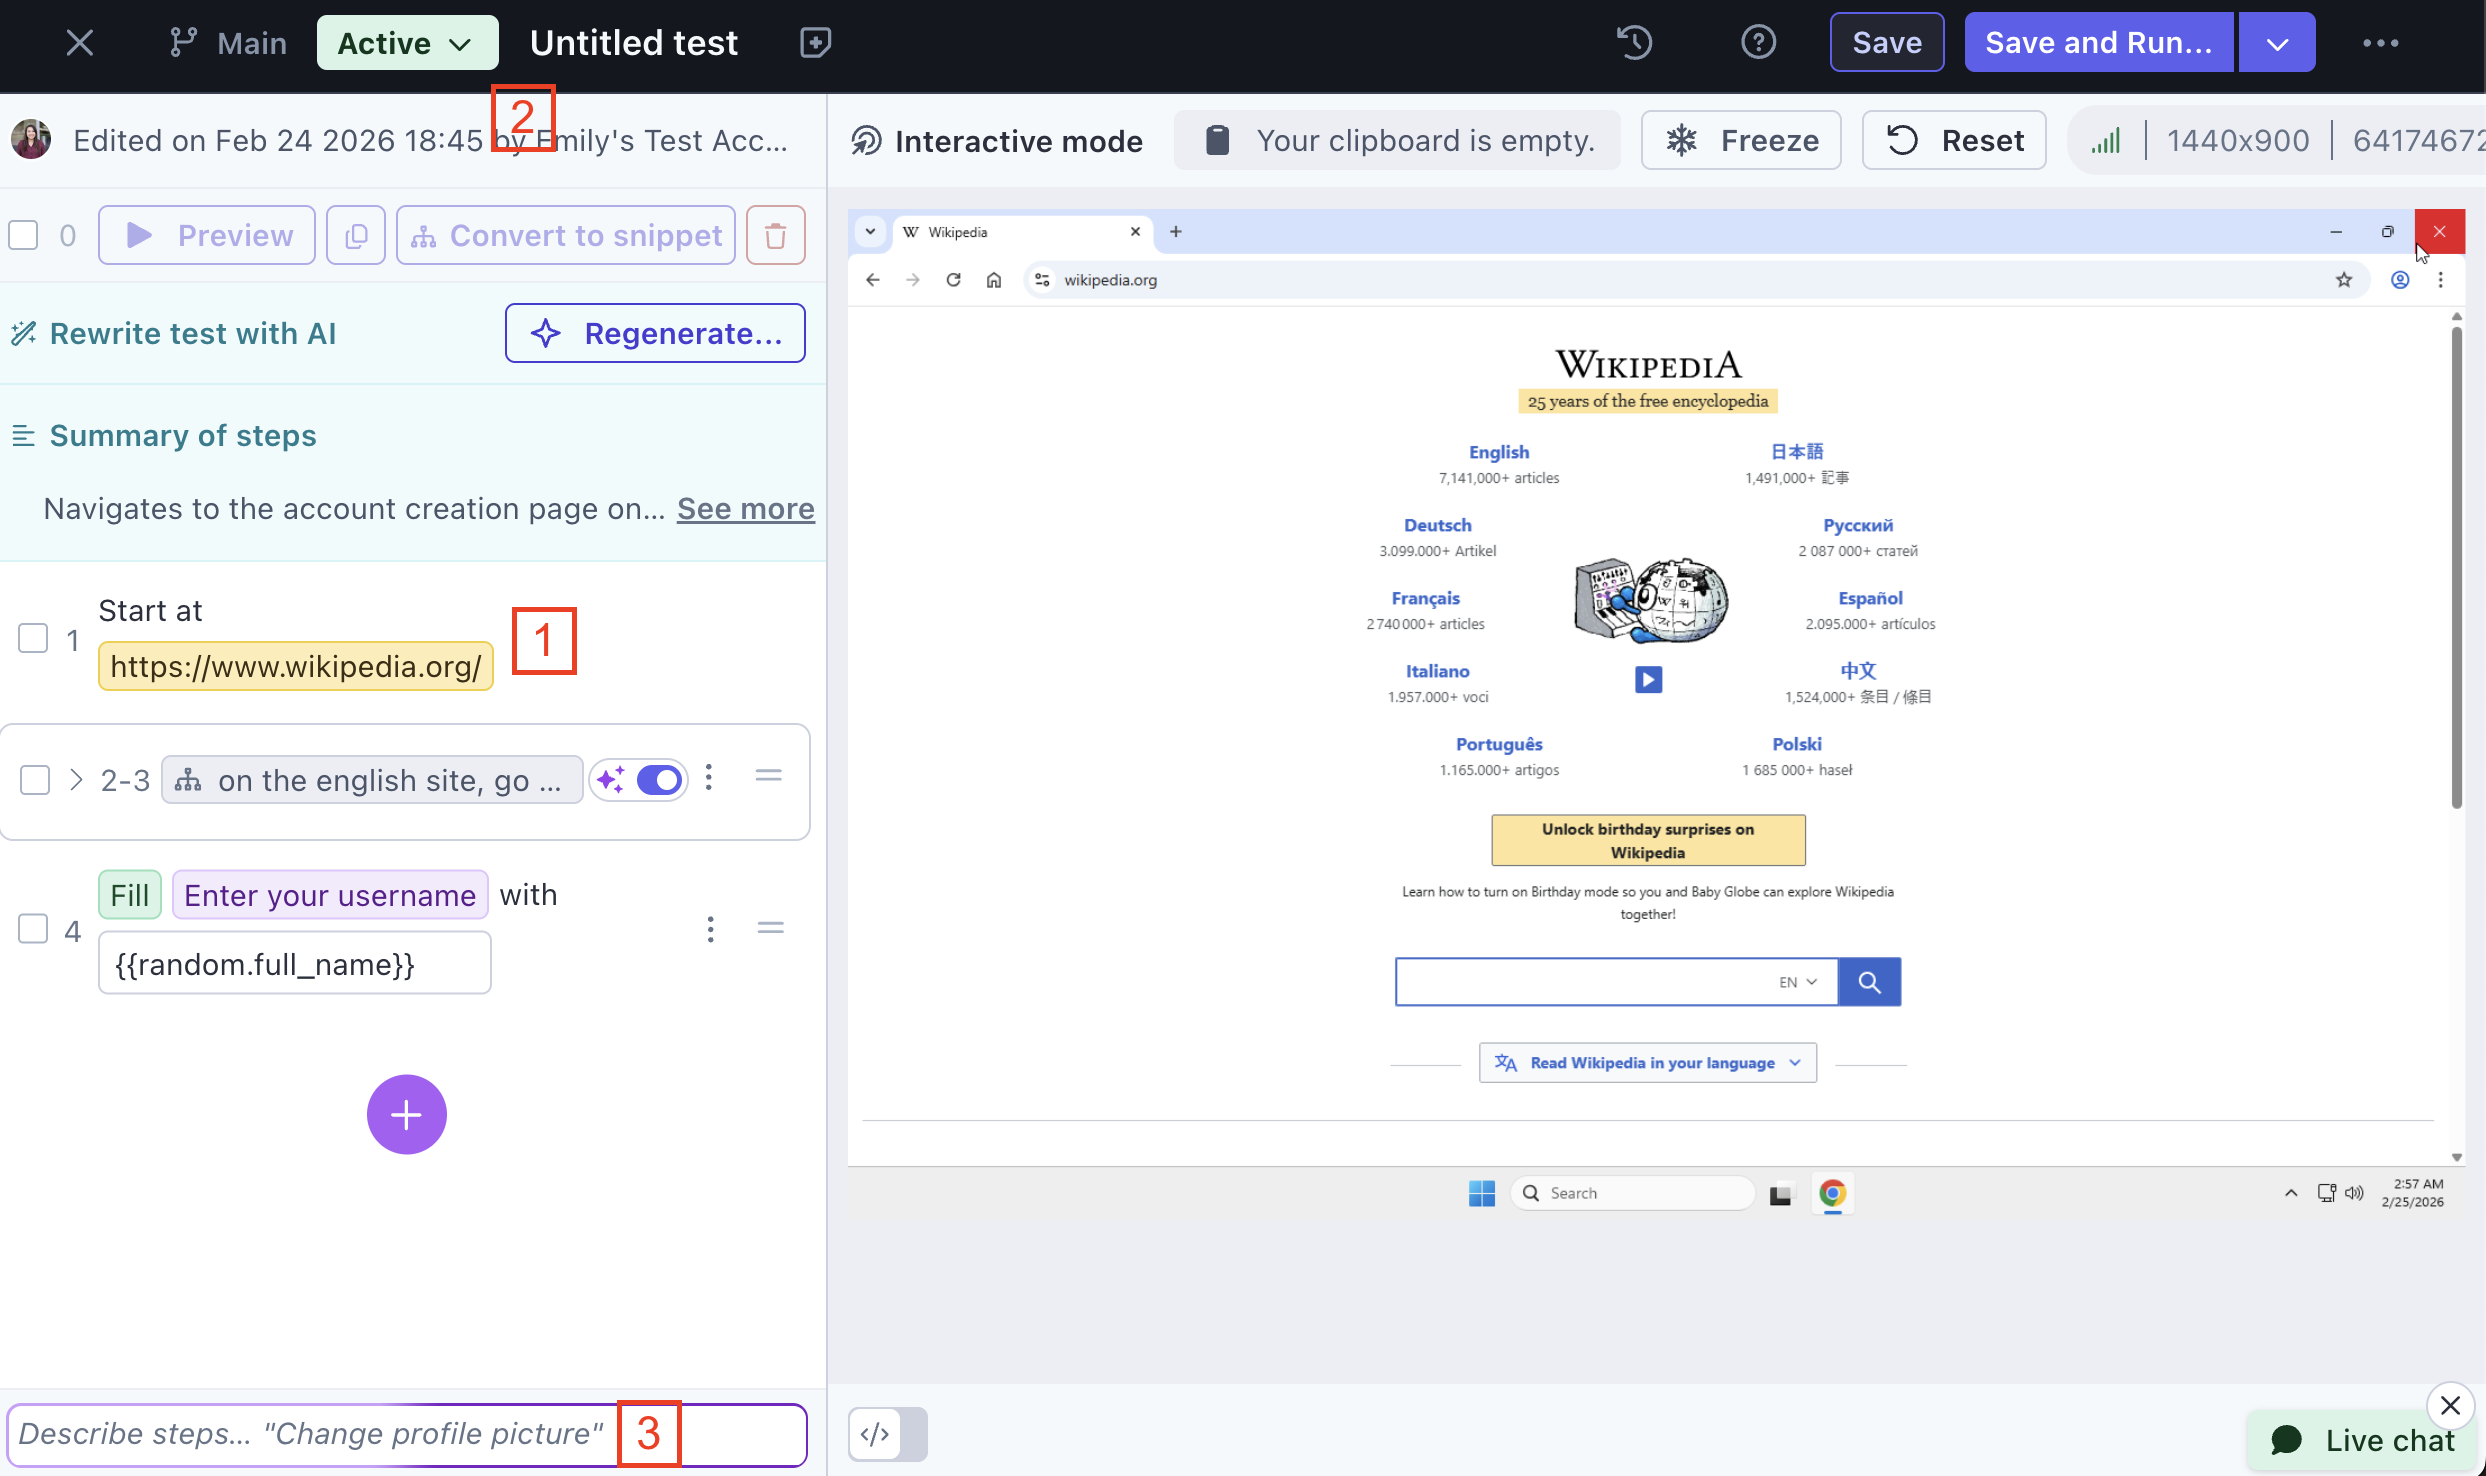
Capturing and Naming the Element
Each step is composed of an action and an element. The element is the item the action interacts with, such as clicking a button. These elements can be anything but are commonly buttons, input fields, text, labels, and images.
- Click the element in the test step.
- Select an area within the VM to capture by clicking and dragging.
Adding a Value
Some actions require a value, such as a URL or other text. For a complete list of these actions, see the Visual Editor Test Actions Glossary.
- Select the field and provide the information.
- Type
{{to pull up the list of test data. For more information, see Using Test Data. - To change a value, reselect the field and update.
Note: You can use dynamic and static data together. For example, if you require a random first name and static last name, enter it as {{random.first_name}} Jones

Adding test data to the step.
Freezing the Screen
If you need to capture a screenshot of an element that is moving or only appears when the mouse is hovering over it, you can do so by temporarily freezing the Visual Editor’s screen. To create a freeze-frame of the screen:
- Press Control + Shift + F while your mouse is hovered over the VM, or click the “Freeze Screen” button at the top of the VM.
- Capture a screenshot by clicking and dragging in the VM image.
- Press Control + Shift + F or click the “Unfreeze Screen” button to resume the VM preview.
Note: This only freezes the image, not the actual VM. The machine will keep running in the background and once you resume, you’ll see the latest screen state.
Adding, Deleting, Moving, and Copying Steps
Adding Steps
To insert a step:
- Click the plus sign (+) between the actions.
- Select an action or add a snippet.
Deleting a Step
- Select the step to delete.
- Click Delete at top of the Actions list.
Moving Steps
- Click the equal sign (=) to the right of the step.
- Drag the step up or down to the desired location.
Note: You cannot move steps above the “Start at” step.
Copying Steps
You can copy steps multiple times within a test. See How to Copy Steps for more information.
Save Your Work OftenSaving is not automatic. If you close the window or navigate to a different page, anything that wasn’t saved is lost. If this happens, reload the page to display the most recently saved version.
Preview Actions

Using Preview Actions to validate test steps.
Preview Actions plays back the test steps in real-time in the VM on the page’s right-hand side. You can preview the entire test or individual steps.
- If everything behaves as expected, continue adding more actions and previewing them to validate. If not, update the steps as needed.
- To play steps, select the checkboxes to the left of the step and click the Preview button.
To select or deselect multiple steps. Select a step, click and hold Shift, select another step. All steps between the two will be selected (or deselected). - A 1-second delay is automatically added between actions to increase test stability. See the Visual Editor Test Settings Glossary to change this setting.
- If test data is used, such as random.email, the value in the test is shown in the VM and the VM console.
Pro TipPreview a Test in a Different Environment
The Preview feature runs your test using the default environment. Sometimes, however, you might want to use a different environment. For example, your test is written for Staging, but you want to preview it using Production. Here’s how to do it:
- In a new browser tab, go to Settings > Sites.
- Mouse over the Environment you want to test and copy the Environment ID code.
- Return to your test.
- Append
(where nnnnn is the Environment ID) to the page URL.?envId=nnnnn
Note: envId is case sensitive.Example:
https://app.rainforestqa.com/tests/279538 is updated to
https://app.rainforestqa.com/tests/279538?envId=22312The Start at URL updates to the URL of the environment you specified.
If you have any questions, reach out to us at[email protected].
Updated 4 months ago