
How to Change Environments
How to test with different environments in the Visual Editor.
When creating a Rainforest test with the Visual Editor, tests run in the default environment for the selected site. You might need to preview a test in a different environment. Maybe the appropriate code isn’t in the current environment yet, or you want to test something in an environment where tests are not normally run. For more information, see Create a new environment in our API Reference.
Changing Your Environment
- Open the Visual Editor test.
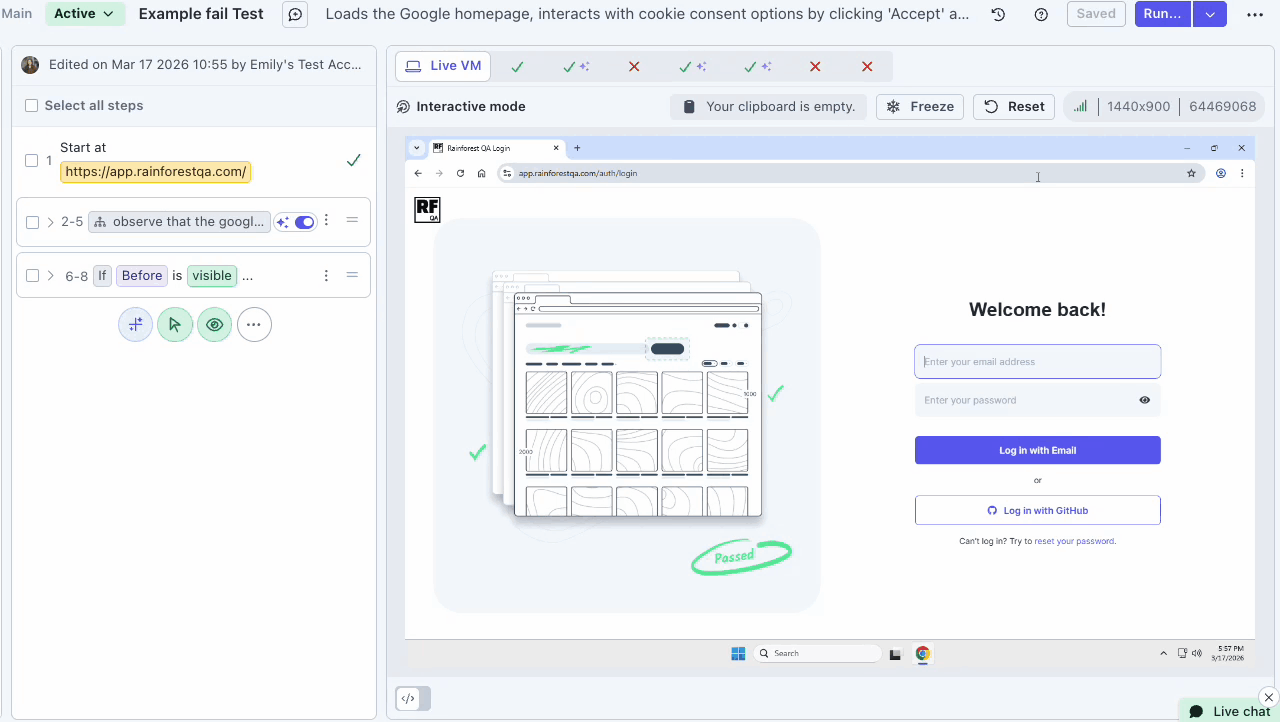
- Select the URL in Step 1 (Start at).
- In the _Starting URL_modal, select the new environment.
- Click the Submit button.
The Start at URL is updated with the new environment URL. In addition, Environmental ID and environmental variables are updated.
The Updated Environment Is Not SavedAny changes you make to the environment are only available for the current editing session. Once you exit the test, the environment reverts to its default. However, if you save your test, all edits are preserved, except for the environment.
Reusable Snippets Open in the Parent EnvironmentIf you open a Reusable Snippet when the environment of its parent has been updated, the embedded test inherits the new environment.
Reviewing a Test from a Run
When you access a test from a run, it uses the environment you set. For example, if the default environment is Staging, but you ran the test in production, the test opens with Step 1 (Start at) using the production URL, environmental IDs, and variables.
If you have any questions, reach out to us at[email protected].
Updated 4 months ago