How to Create a Saved Filter
Learn how to generate a custom filtered view of your tests.
Creating a Saved Filter
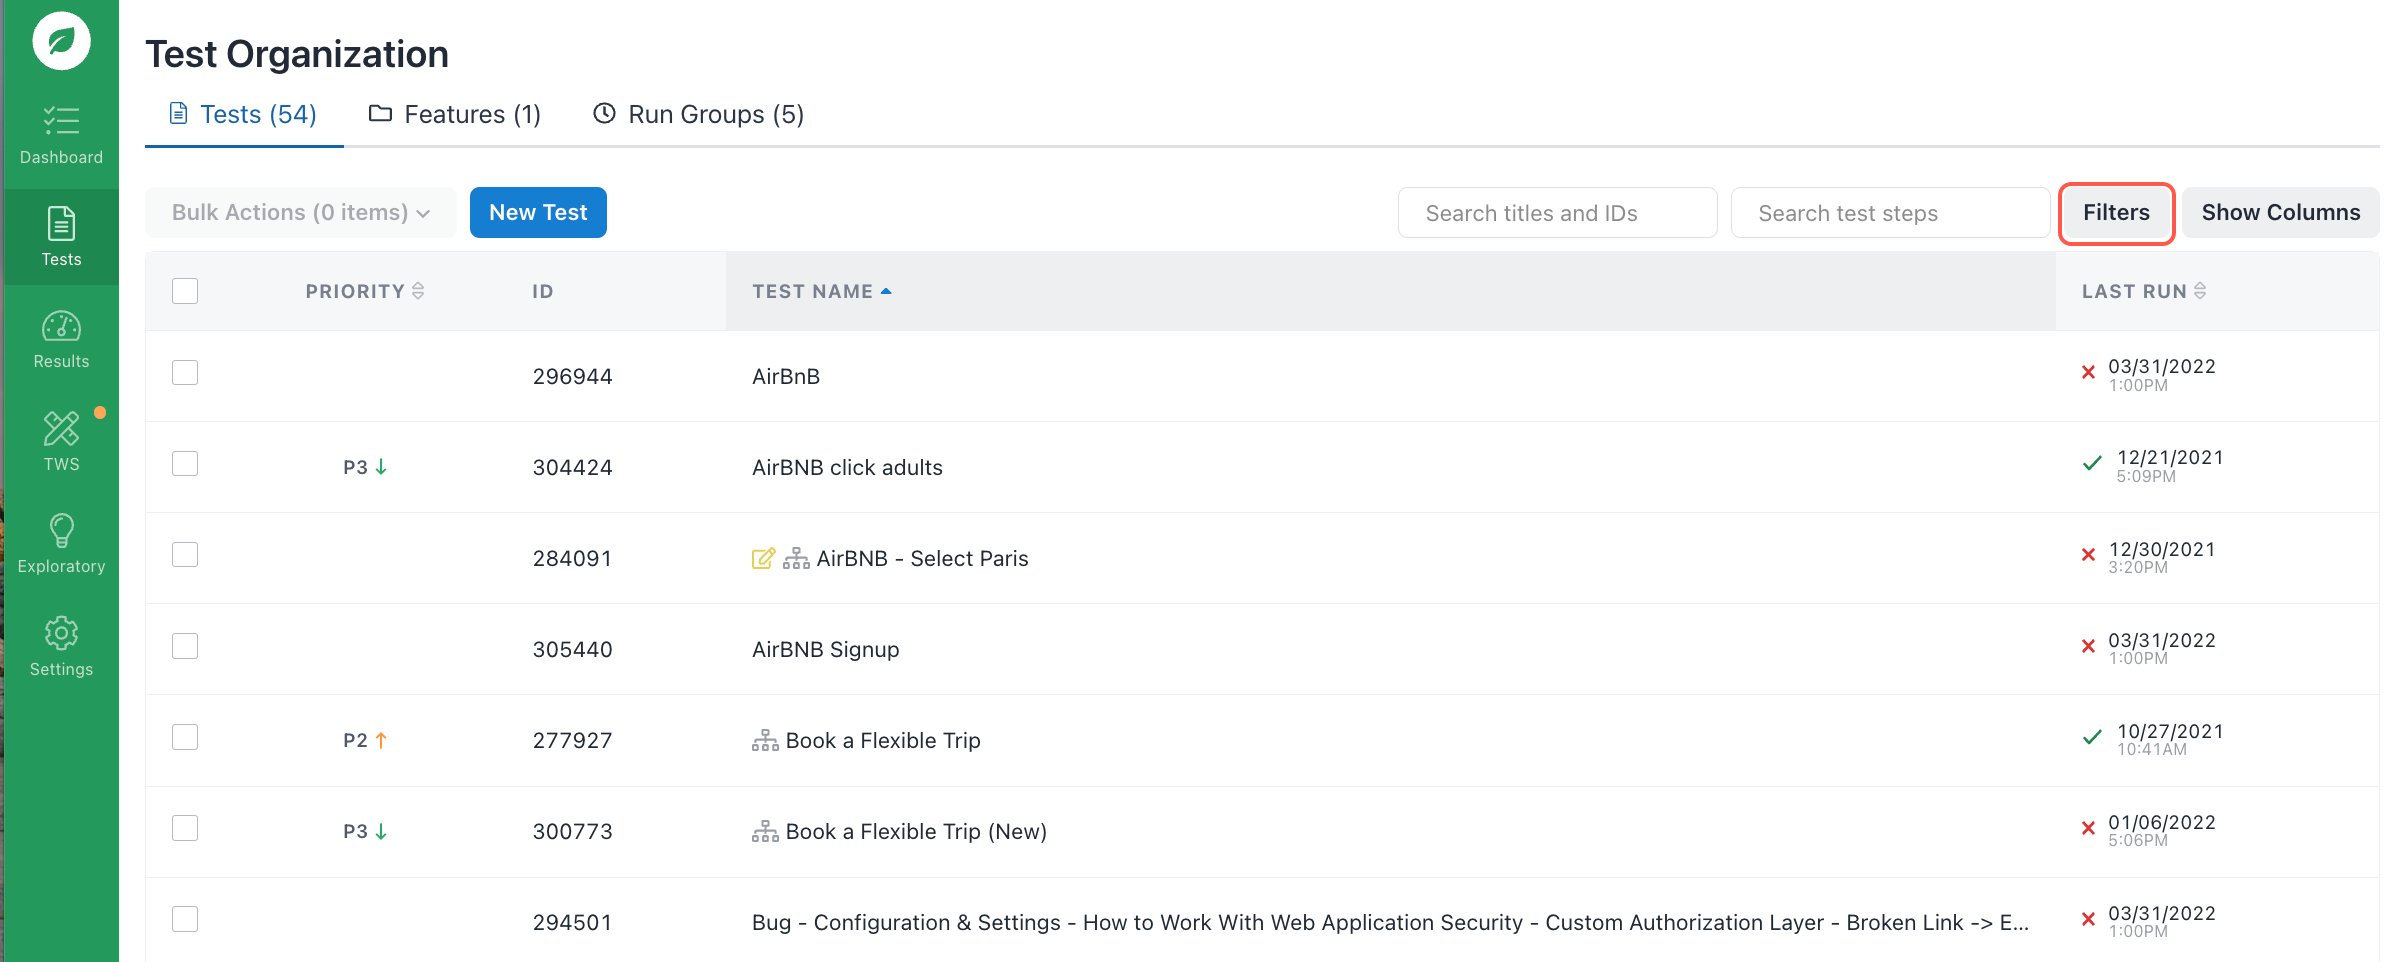
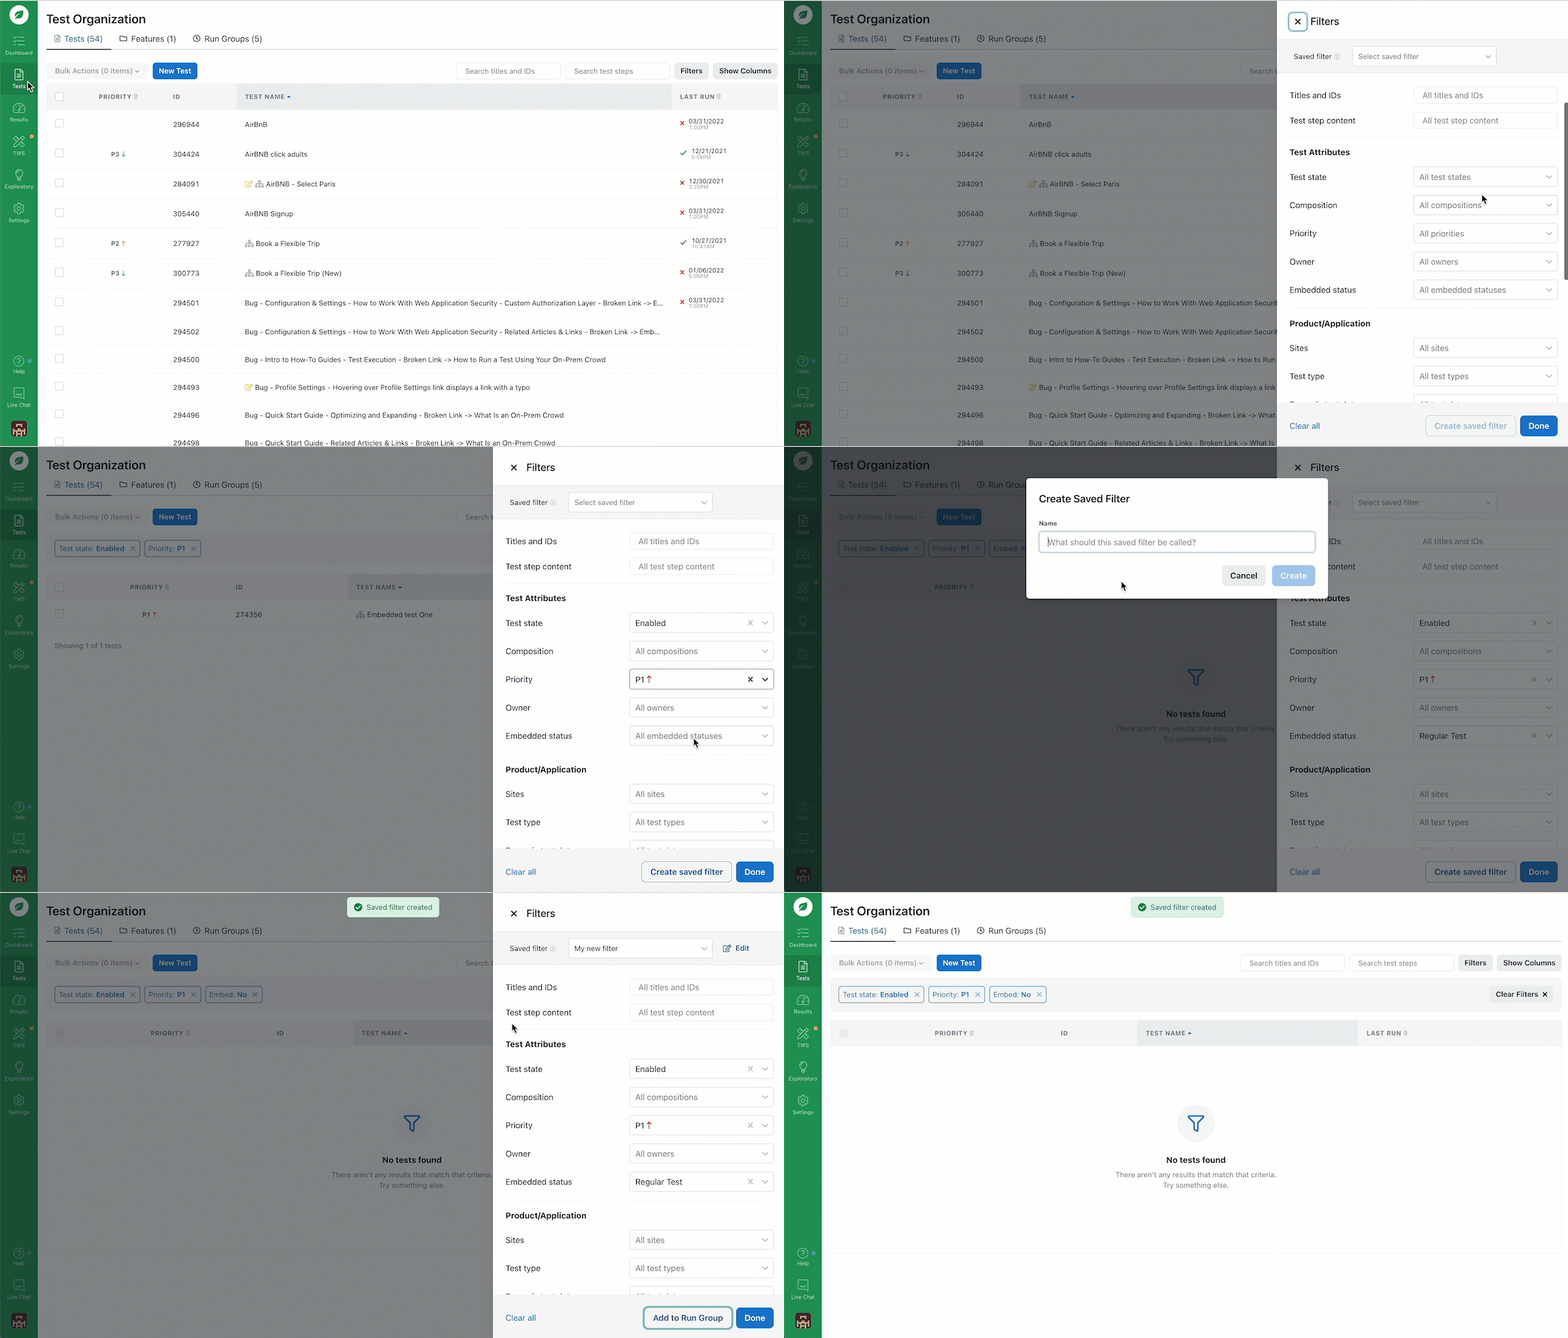
- Click the Tests icon (paper) in the navigation bar. Make sure Tests is highlighted on the top navigation.
- Click Filters on the top right-hand side to open the Filters tray.
- Using the Filters panel, create a custom filtered view of your tests.
- Click the plus sign next to the Saved Filter dropdown.
- Name your saved filter.
- Click Create saved filter.
- Provide a name in the Created Saved Filter popup.
- Click Create.
- Click Done or the X at the top to close out the Filter tray.

Creating a saved filter.
Note: Saved filters allow you to use advanced conditions. You can add as many conditions as you like.

Creating a saved filter.
The filter criteria and resulting tests will be shown on the Tests page. This may be cleared to show all tests by selecting Clear Filters or by refreshing the page by clicking the Tests icon (paper) in the navigation bar.
If you have any questions, reach out to us at[email protected].
Updated 5 months ago
