
Screenshot Best Practices
Learn how to take the best screenshots for your Rainforest QA tests.
Overview
Taking effective screenshots is key to writing reliable tests in Rainforest QA. This article will cover our matching mode options and best practices for taking screenshots within the Visual Editor.
Choose the Correct Matching Mode
When taking a screenshot of an element, there will be two matching choices: intelligent mode (the default) and strict mode.
Intelligent mode is designed to evaluate elements on the screen like a human would. This means it will ignore visual differences that most people wouldn’t notice, including: minor differences in color, font size, spacing, or rendering, and unimportant differences in white space (i.e., padding and margins). Strict Mode will only pass exact matches between screenshots and elements. Learn more about our matching mode choices.
Take Small Screenshots
When running a test, the Rainforest automation agent will search on-screen for a match for your screenshot based on pixel-matching of the entire screenshot. Intelligent mode will allow for small differences between the screenshot and what appears on-screen, but to write reliable tests, it’s important to:
- Exclude extraneous area to avoid unnecessary test maintenance
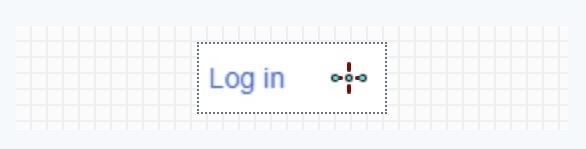
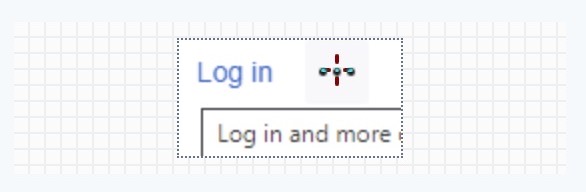
- Capture the smallest, unique area possible
| Take this ✅ | Not this ❌ |
|---|---|
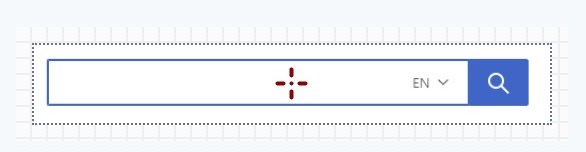 | 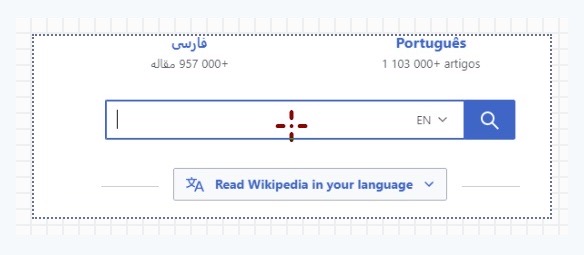 |
Take Unique Screenshots
The automation agent will select the first element that it matches with your screenshot on the page. If the same element appears more than once on the page, you could end up with a flaky test.
- If the same element appears multiple times on the page, provide a screenshot with additional details to show which particular element you want the automation to look for.
- Use the pointer to select where automation should click/type/etc.
| Take this ✅ | Not this ❌ |
|---|---|
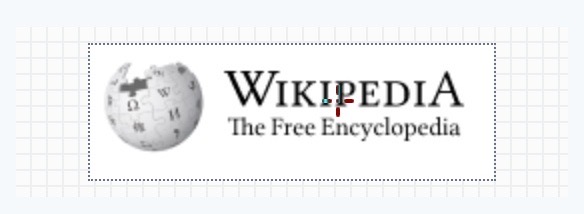 | 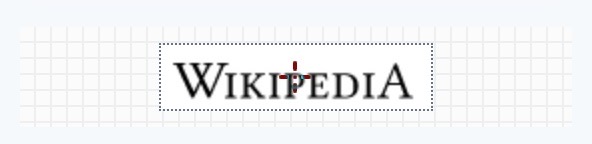 |
Take Screenshots without Activating an Element
If hovering over or selecting an element changes its appearance, a mistimed screenshot of the element may unintentionally cause test failures. We recommend taking screenshots of this type of element without your cursor hovering over it, without pre-selecting it, or manipulating it in any way.
| Take this ✅ | Not this ❌ |
|---|---|
 |  |
Take Screenshots in the Corresponding Browser and Operating System
Different browsers and operating systems render text and images differently. For example, Chrome on Mac will render differently than Chrome on Windows, and Chrome on Windows will render differently than Edge on Windows. Therefore, to avoid flaky tests, we recommend writing tests and taking screenshots in the browser you plan to run the test in.
NoteUsing Intelligent mode may allow for the small pixelation differences to pass in certain instances but it does not guarantee reliable results.
Regularly Update Screenshots
Even though Intelligent mode can be tolerant to differences, we still recommend you regularly update your element screenshots so they’re always up-to-date with the latest state of your website or app.
If you have any questions, reach out to us at[email protected].
Updated 4 months ago